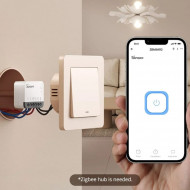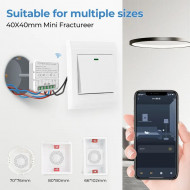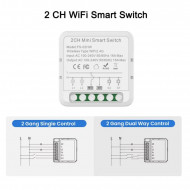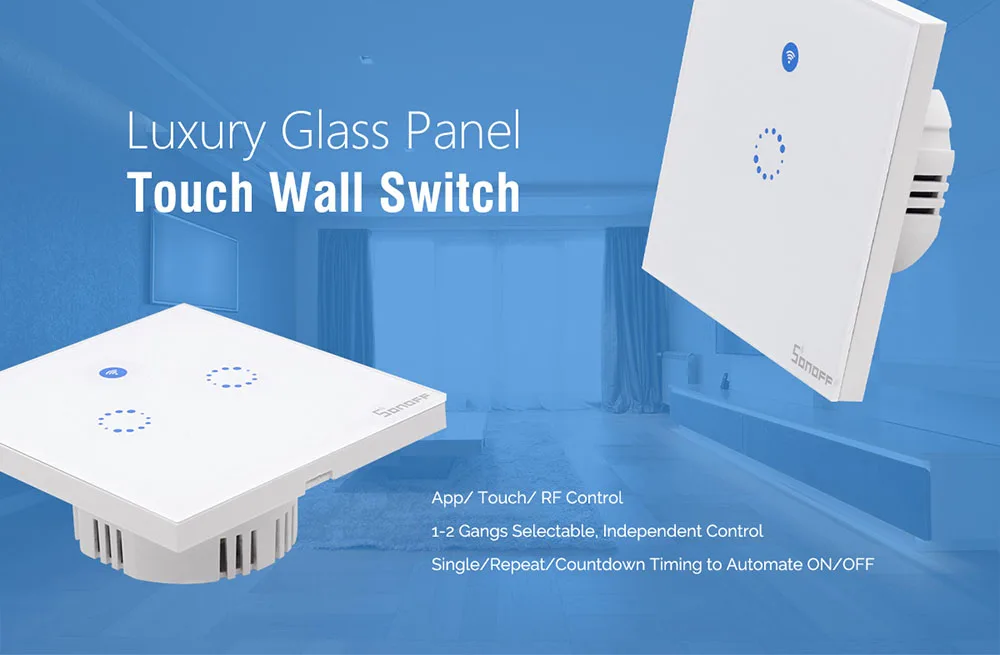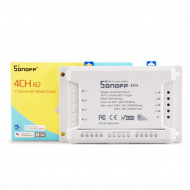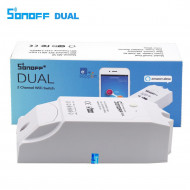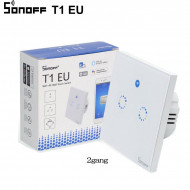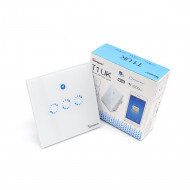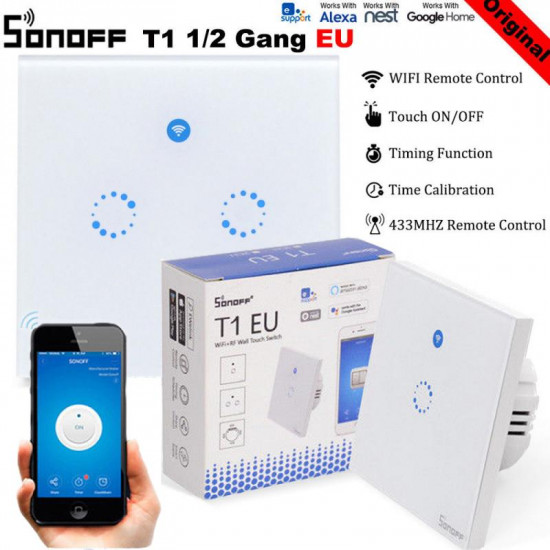
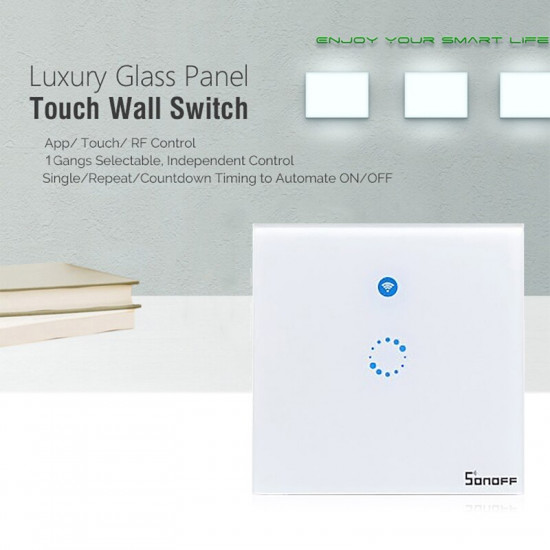


Sonoff – interrupteur mural tactile intelligent T1 EU 1 gang, wi-fi/433 RF/APP, télécommande pour maison connectée, fonctionne avec Alexa
Remarque chaleureuse:
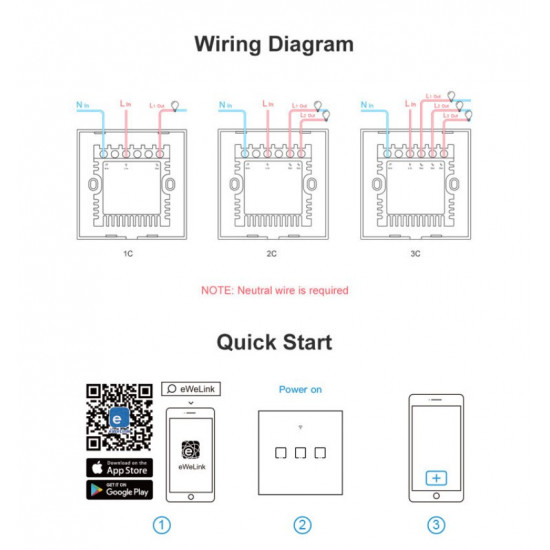
1. Le T1 doit être alimenté par des fils sous tension et neutres. Certaines maisons n'ont pas de fil neutre sur l'interrupteur mural.
2. Pour télécommande 433MHZ,Il n'inclura pas la batterieEn raison du transport d'expédition limité, veuillez comprendre, merci
Spécifications du produit:
Alimentation: 90 ~ 250V ca
Fréquence nominale: 50HZ/60HZ
Max. Courant: 2A/250V/gang
Max. Puissance: 600W/groupe
Gang: 1/2 gang
Dimension: 86mm * 86mm (norme ue)
Méthodes de contrôle: tactile/App eWeLink/télécommande RF
Standard sans fil: WiFi 2.4GHz & 433MHz RF
Matériau: ABS V0 + panneau en verre trempé
Mécanisme de sécurité: WEP/WPA-PSK/WPA2-PSK
Avantage du produit:
- Marche/arrêt à distance-Allumer/éteindre les lumières de n'importe où
- Prise en charge de l'application-Application mobile iOS et Android gratuite eWeLink
- Télécommande RF-Allumer/éteindre par télécommande RF 433MHz à l'intérieur
- Contrôle indépendant-Contrôlez chaque groupe séparément
- Convient à l'ancienne boîte-Remplace parfaitement votre ancien interrupteur mural de type 86
- État de synchronisation-Statut de l'appareil en temps réel fourni à l'application
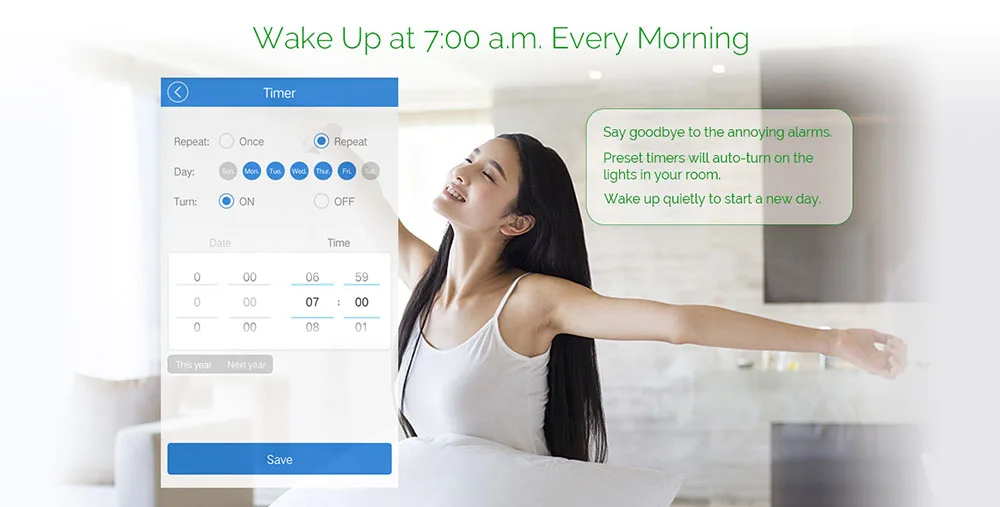
- Chronométrage-Réglez les minuteries programmées/compte à rebours pour allumer/éteindre à une heure spécifiée
- Contrôle de partage-Contrôlez votre maison intelligente avec votre famille
- Scène-Allumer/éteindre un groupe d'appareils avec une seule touche
- Scène intelligente-Activé/désactivé par la température, l'humidité ou d'autres conditions environnementales
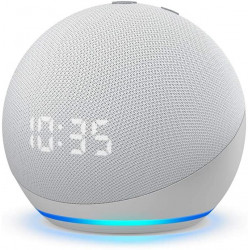
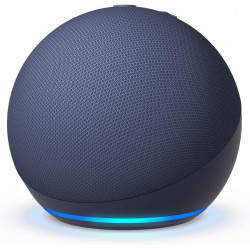
- Commande vocale-Fonctionne parfaitement avec Amazon Alexa, Google Home
Fonctionne avec Amazon Alexa:



1. Téléchargez l'application «eWeLink»
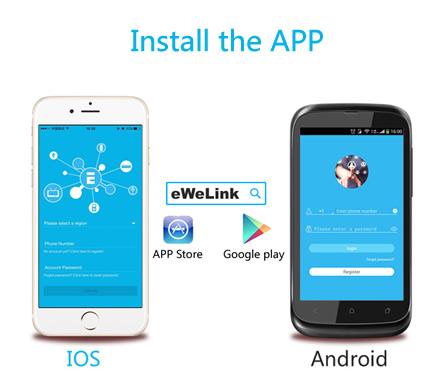
Recherchez «eWeLink» dans l'app Store pour la version iOS ou Google play pour la version Android.
2. Installation
Principe de fonctionnement marche/arrêt: les appareils connectés fonctionnent/s'arrêtent via la mise sous/hors tension du fil sous tension.
Attention:Avant d'installer l'interrupteur, assurez-vous que vous avez totalement coupé l'alimentation à 100%.
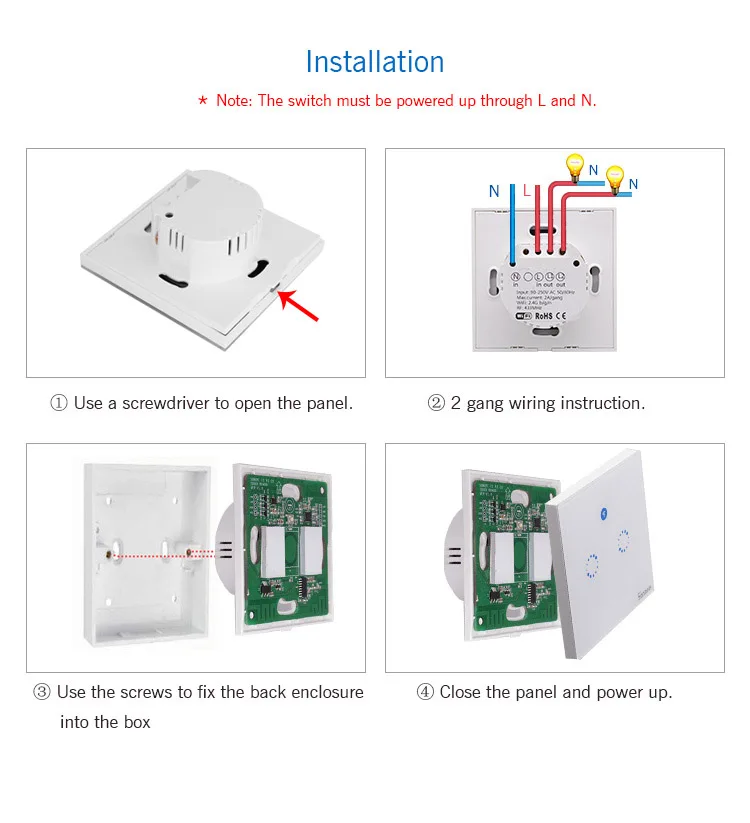
2.1 si vous voulez vous connecter avec des lumières, les instructions de câblage sont comme ci-dessous. Ici, nous prenons le commutateur à 2 gangs par exemple:
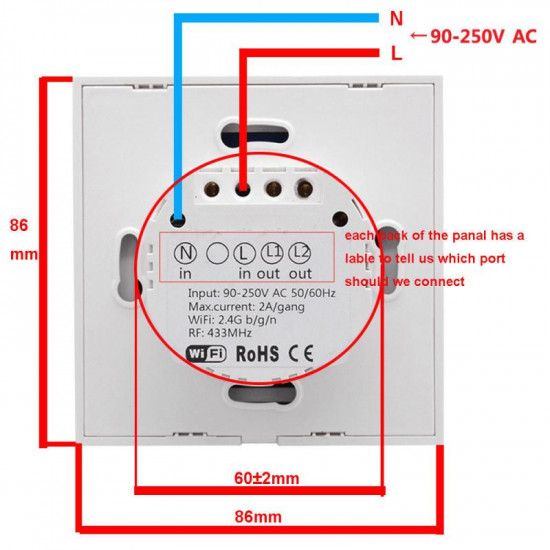
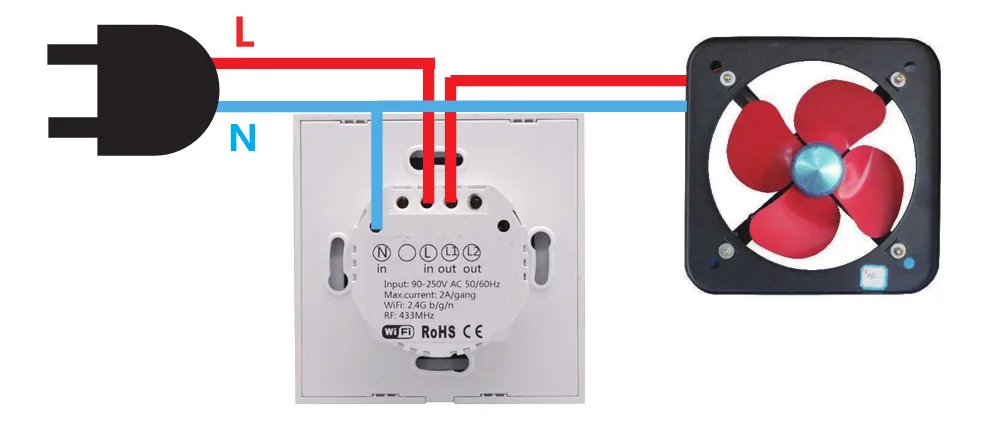
2.2 si vous souhaitez vous connecter à l'appareil avec une puissance nominale inférieure à 600W, les instructions de câblage sont les suivantes. Ici, nous prenons le commutateur 1 gang par exemple:
L'interrupteur doit être alimenté via Lin (entrée en direct) et Nin (entrée neutre). Pendant que L1 out, L2 out sont une sortie en direct pour chaque groupe.
Après avoir branché les fils, veuillez utiliser un tournevis pour ouvrir le panneau. La position est la même que T1 UK, comme indiqué ci-dessous:
Utilisez ensuite deux vis pour fixer le boîtier arrière dans la boîte murale. Puis fermez le panneau.
2. Ajouter un appareil
1. Allumez votre interrupteur mural.
2. Appuyez sur l'un des boutons tactiles pendant 7 secondes jusqu'à ce qu'il clignote rapidement pour entrer dans l'état de couplage WiFi.
3. Le moyen de clignoter est: clignoter 3 fois et allumé à plusieurs reprises.
Pour les utilisateurs d'android, veuillez sélectionner la première icône et cliquer sur suivant.
Pour les utilisateurs d'ios, veuillez sélectionner l'icône correspondante-TOUCH, cliquez sur suivant.
EWeLink va rechercher automatiquement et se connecter à l'appareil.

4. Entrez votre SSID domestique et votre mot de passe:
4.1 si pas de mot de passe, gardez-le vide.
4.2 eWeLink ne prend désormais en charge que le protocole de communication WiFi 2.4G, le WiFi 5G n'est pas pris en charge.

5. Nommez l'appareil à compléter.
6. Peut-être que l'appareil est «hors ligne» sur eWeLink, car l'appareil a besoin de 1 à 2 minutes pour se connecter à votre routeur et serveur. Lorsque le voyant vert est allumé, l'appareil est «en ligne», si eWeLink affiche toujours «hors ligne», veuillez fermer eWeLink et rouvrir.
3. Télécommande RF:
3.1 paires avec télécommande RF 433MHz
Vous devrez appairer les 3 gangs un par un. Appuyez et maintenez le bouton tactile T1 jusqu'à ce que vous entendiez un bip. Appuyez sur un bouton de la télécommande RF. Vous entendrez un bip sonore quand il sera appris avec succès. Répétez les étapes ci-dessus pour appairer les autres gangs avec la télécommande RF.
3.2 codes 433MHz clairs
Appuyez et maintenez le bouton tactile T1 jusqu'à ce que vous entendiez deux bips. Appuyez sur n'importe quel bouton de la télécommande RF. Vous entendrez un bip lorsque le code sera effacé avec succès.
4. Caractéristiques de l'application
Télécommande WiFi 4.1 et état de l'appareil synchrone
Allumer/éteindre en appuyant sur l'icône de l'appareil sur l'application. L'état de l'appareil s'affiche toujours simultanément sur l'application.
4.2 contrôle des actions
Le propriétaire peut partager les appareils avec d'autres comptes eWeLink. Lors du partage d'appareils, les deux doivent rester en ligne sur eWeLink (gardez l'écran éclairé). Parce que si le compte que vous voulez partager n'est pas en ligne, il/elle ne recevra pas le message d'invitation.
Comment rendre possible? Cliquez d'abord sur partager, entrez le compte eWeLink (numéro de téléphone ou adresse e-mail) que vous souhaitez partager, cliquez sur les autorisations de minuterie (modifier/supprimer/modifier/activer) que vous souhaitez donner, puis cliquez sur suivant. L'autre compte recevra un message d'invitation. Cliquez sur accepter, l'appareil a partagé avec succès. L'autre utilisateur aura accès pour contrôler l'appareil.
3. Horaires
Prend en charge 8 programmes de synchronisation uniques/répétitifs/compte à rebours activés par appareil. Les minuteries préréglées peuvent fonctionner même si le réseau n'est pas disponible, mais l'appareil doit rester sous tension.
4. Scène/scène intelligente
La scène permet d'allumer/éteindre vos appareils automatiquement. Les paramètres de la scène se trouvent dans le coin supérieur droit de la liste des appareils. Vous pouvez configurer des scènes ou des scènes intelligentes pour activer/désactiver l'appareil.
Les utilisateurs doivent sélectionner «cliquer pour exécuter» dans la condition, ajouter différents appareils existants, nommer la scène et la sauvegarder.
5. Définir l'état de l'appareil par défaut
EnRéglage de l'appareilVous pouvez régler l'état de l'appareil par défaut surSurOuOFFLorsque l'appareil est allumé.
6. Mécanisme de sécurité
Un appareil, un propriétaire. D'autres personnes ne peuvent pas ajouter les appareils qui ont déjà été ajoutés. Si vous souhaitez ajouter votre appareil à un autre compte, n'oubliez pas de le supprimer d'abord.
7. Mise à jour
Il vous rappellera automatiquement le nouveau firmware ou la nouvelle version. Veuillez mettre à jour dès que possible.
5.Problèmes et solutions
Lire les détailsFAQSur le Forum Itead Smart Home. Si les réponses ci-dessous ne peuvent pas résoudre votre problème, veuillez envoyer un commentaire sur eWeLink.
1. Mon appareil a ajouté avec succès mais reste «hors ligne».
Réponses: le nouvel appareil a besoin de 1 à 2 minutes pour se connecter à votre routeur et à Internet. S'il reste hors ligne pendant une longue période, veuillez évaluer le problème par l'état de la led verte:
1.1. La led verte clignote rapidement une fois et se répète, ce qui signifie que l'appareil n'a pas réussi à se connecter au routeur. La raison peut être que vous avez entré un mauvais mot de passe WiFi ou que votre appareil est trop éloigné du routeur, ce qui cause un signal WiFi faible. L'appareil ne peut pas être ajouté au 5G-wifi-router, seul le 2.4 g-wifi est OK. Enfin, assurez-vous que votre routeur est MAC-open.
1.2. La led verte clignote lentement une fois et se répète, ce qui signifie que l'appareil s'est connecté au routeur et au serveur mais n'a pas pu être ajouté à la liste des appareils. Puis remettez l'appareil sous tension, s'il ne fonctionne toujours pas, il suffit d'ajouter l'appareil à nouveau.
1.3. La led verte clignote rapidement deux fois et se répète, cela signifie que l'appareil s'est connecté au routeur mais n'a pas réussi à se connecter au serveur. Veuillez ensuite confirmer que votre routeur WiFi fonctionne normalement.
2. Pourquoi l'application ne trouve pas l'appareil en état d'appairage?
Réponses: c'est à cause du cache de votre téléphone. Veuillez fermer le WLAN de votre téléphone puis l'ouvrir après une minute. En même temps, veuillez éteindre l'appareil si vous le pouvez, puis allumer pour réessayer.
3. Mon WiFi est expiré, puis-je connecter les appareils au LAN?
Réponses: le Sonoff T1 ne supporte pas d'être contrôlé par LAN. Vous devrez le connecter à un WiFi avec Internet.
4. La led verte reste éteinte même si l'appareil est allumé. Appuyez sur le bouton mais l'appareil ne fonctionne pas.
Réponses: le circuit peut être cassé, veuillez le renvoyer pour le tester. Les frais de port et d'emballage de retour seront à la charge de l'acheteur, si l'appareil est endommagé par l'acheteur, et l'acheteur doit supporter des frais de réparation supplémentaires.
- Stock: Rupture de stock
- Modèle: T1 EU 1GANG
- UGS: 1

-240x375h.png)

-250x250h.png)
